How to Publish an Adalo App to the App Store (Step by Step)
Publishing an Adalo app used to mean wrestling with design tools you didn't want to learn. You'd open Figma or Photoshop, hunt for an iPhone mockup, try to get your screenshot at the right resolution, give up, and post something that looked like it was made in 2014. Then you'd write a Privacy Policy from scratch, or worse, copy one from another app and hope for the best.
Adalo Publishing Studio was built to eliminate that entire detour. Here's exactly how it works.
Step 1: Load Your App
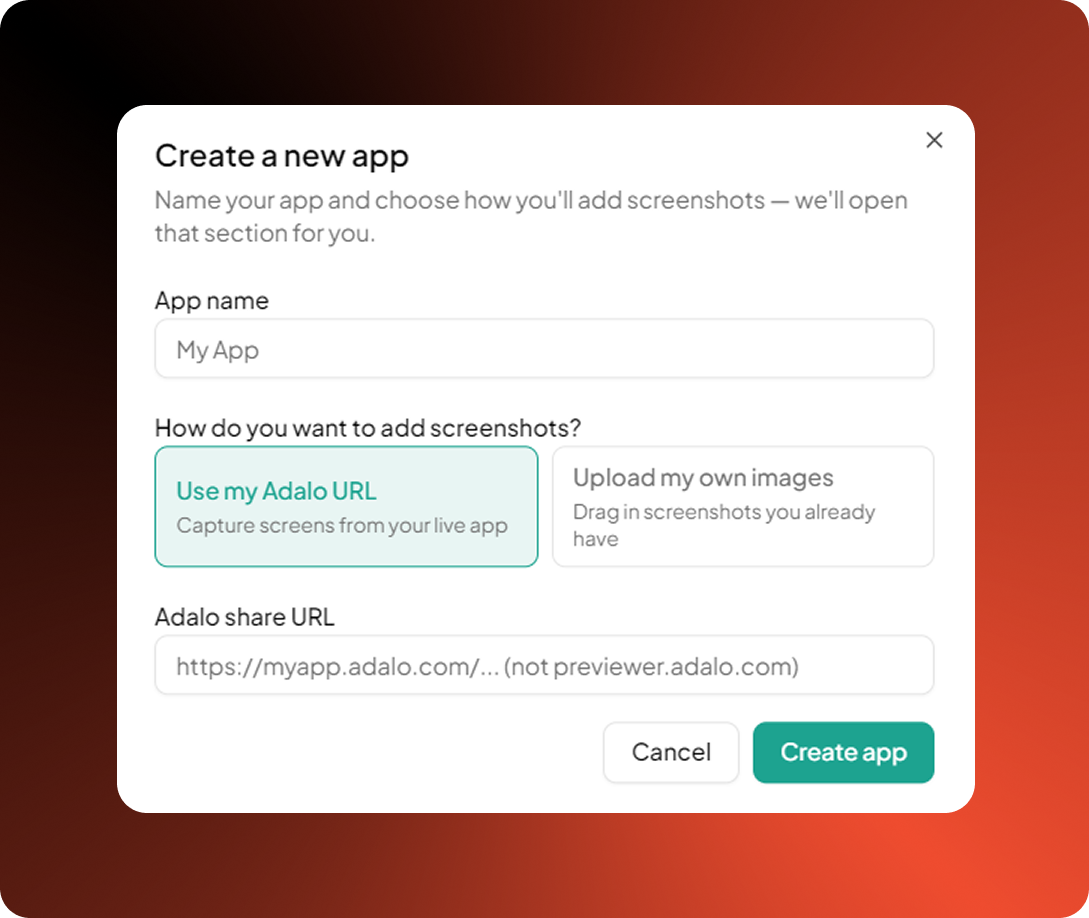
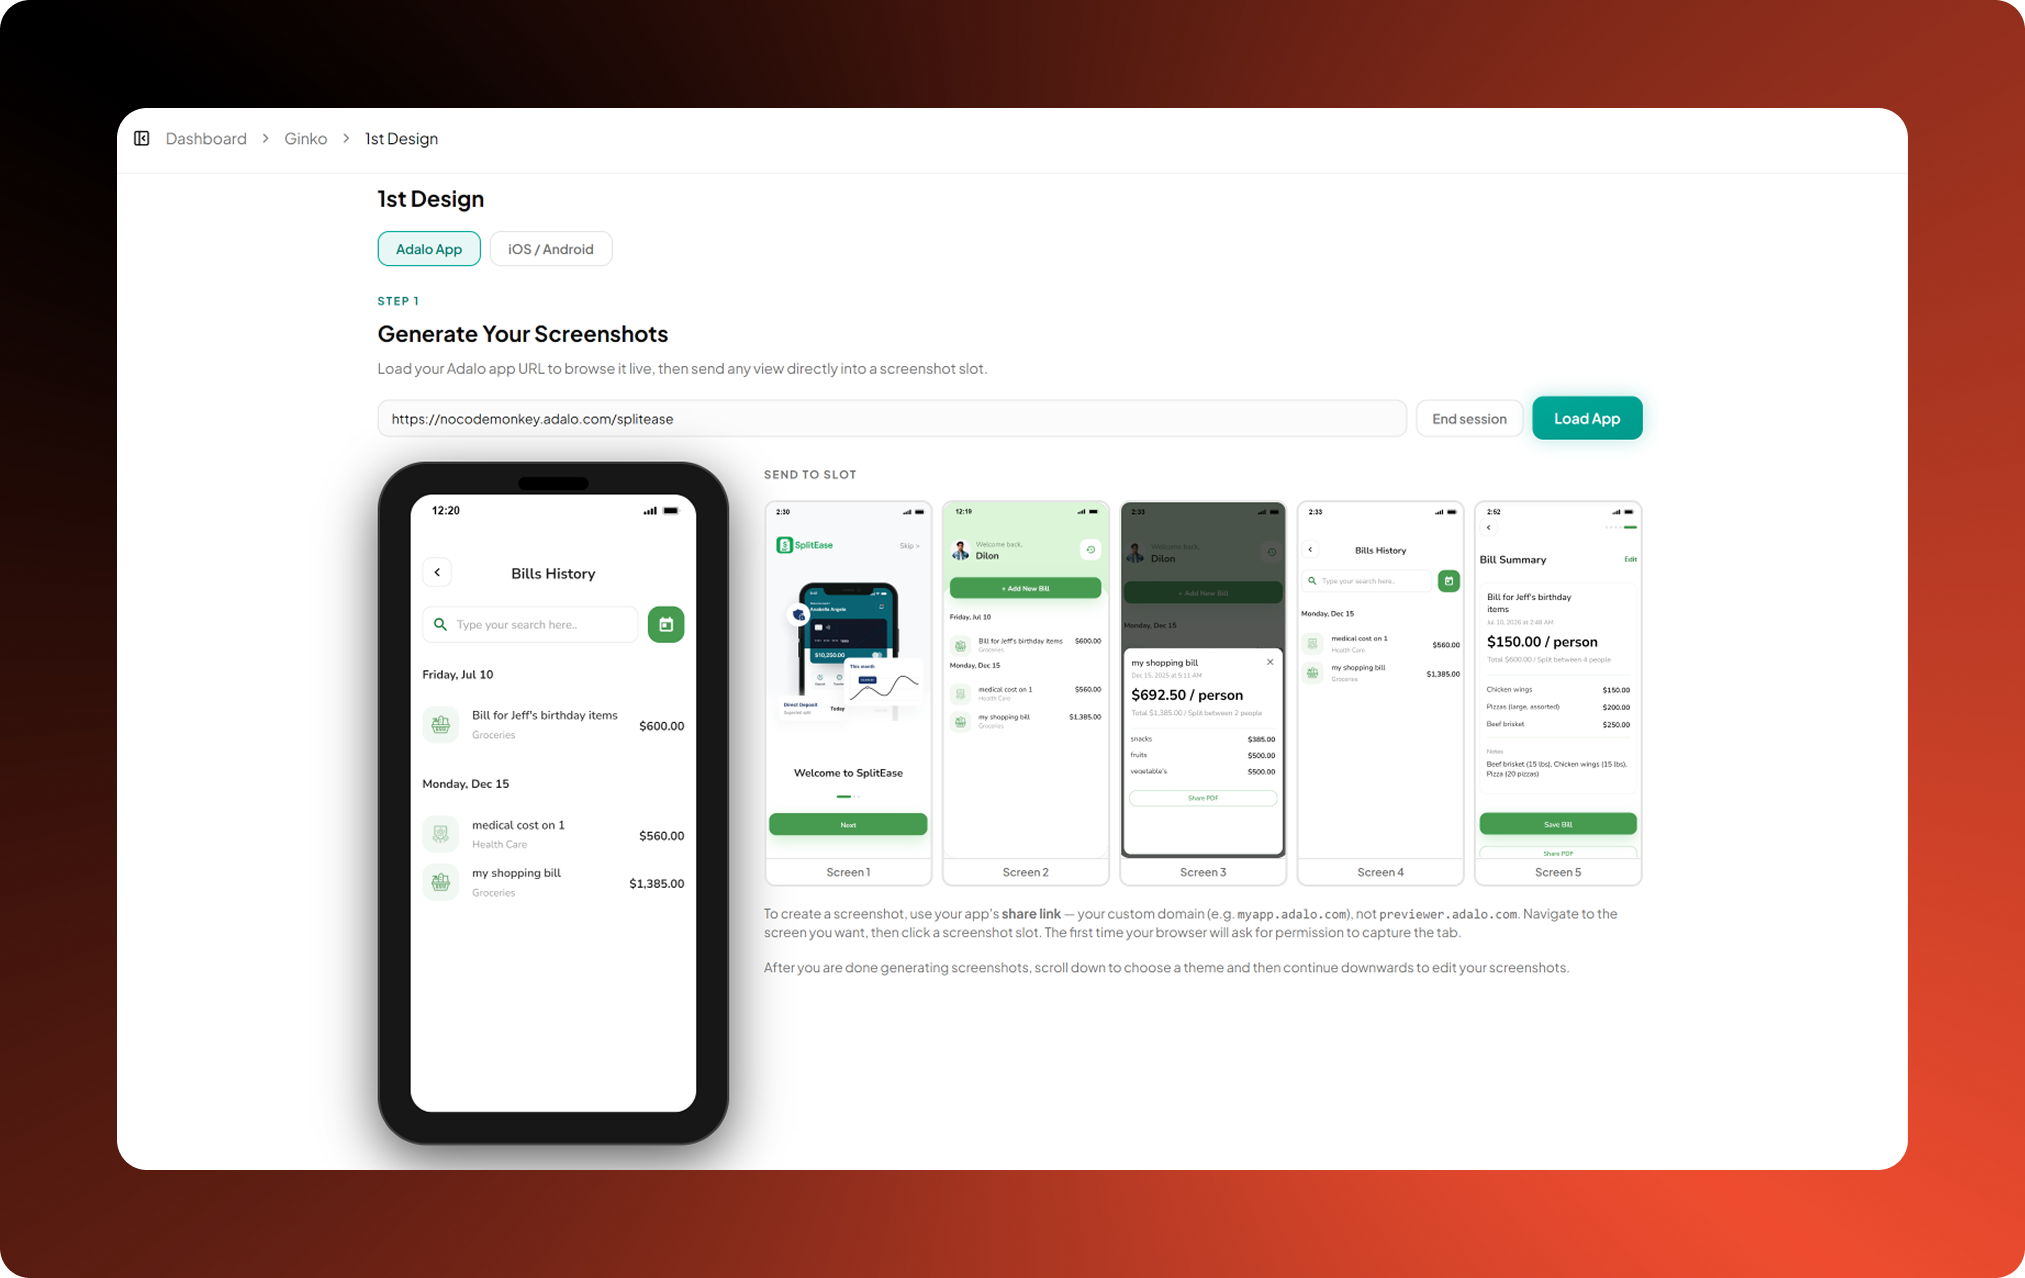
Paste your Adalo app's share URL into Studio — your published app's link on your custom adalo.com domain (not the previewer.adalo.com link). Studio embeds your running app inside a phone-shaped frame right in your browser. You can tap through your app exactly as a user would. No screenshots needed yet.
Step 2: Capture Your Best Screens
When you land on a screen you want to feature, click a slot. The current view is captured and placed into one of your five screenshot slots. Navigate to the next screen, click the next slot. In a few minutes, you have five representative screens locked in. Prefer uploading? If you've already taken screenshots in the iOS Simulator or Android Emulator, drag them straight onto any slot or use the Upload button. Both flows write to the same slots, so you can mix and match.
Step 3: Pick a Template and Customize
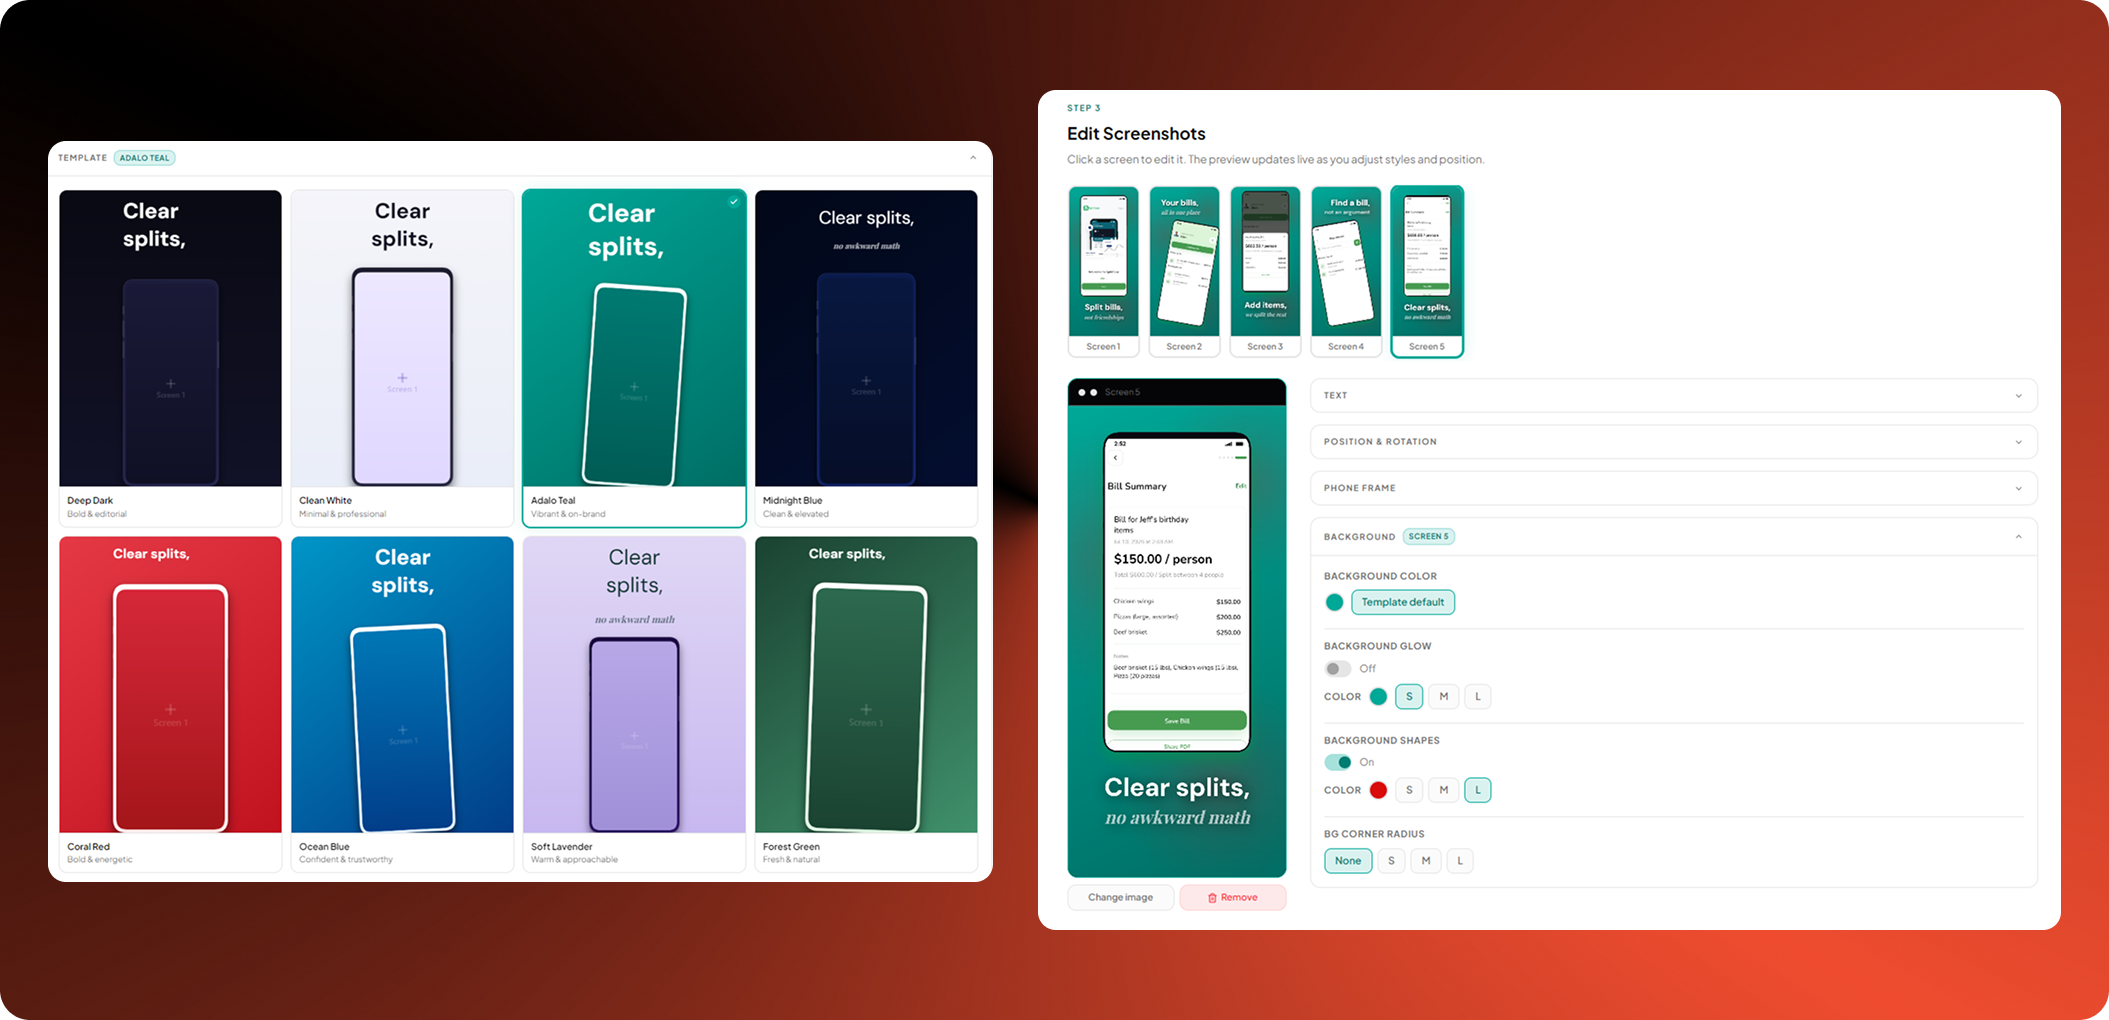
Studio ships with eight templates: Deep Dark, Clean White, Adalo Teal, Midnight Blue, Coral Red, Ocean Blue, Soft Lavender, and Forest Green. Each has a distinct mood. Pick the one that fits your app's personality. From there, type your headline and subtitle for each screen. Adjust font weight, size, alignment, and color. Rotate the phone slightly for a dynamic look. Add a background gradient, image, or shape. Every change previews live — what you see is what exports.
Step 4: Export
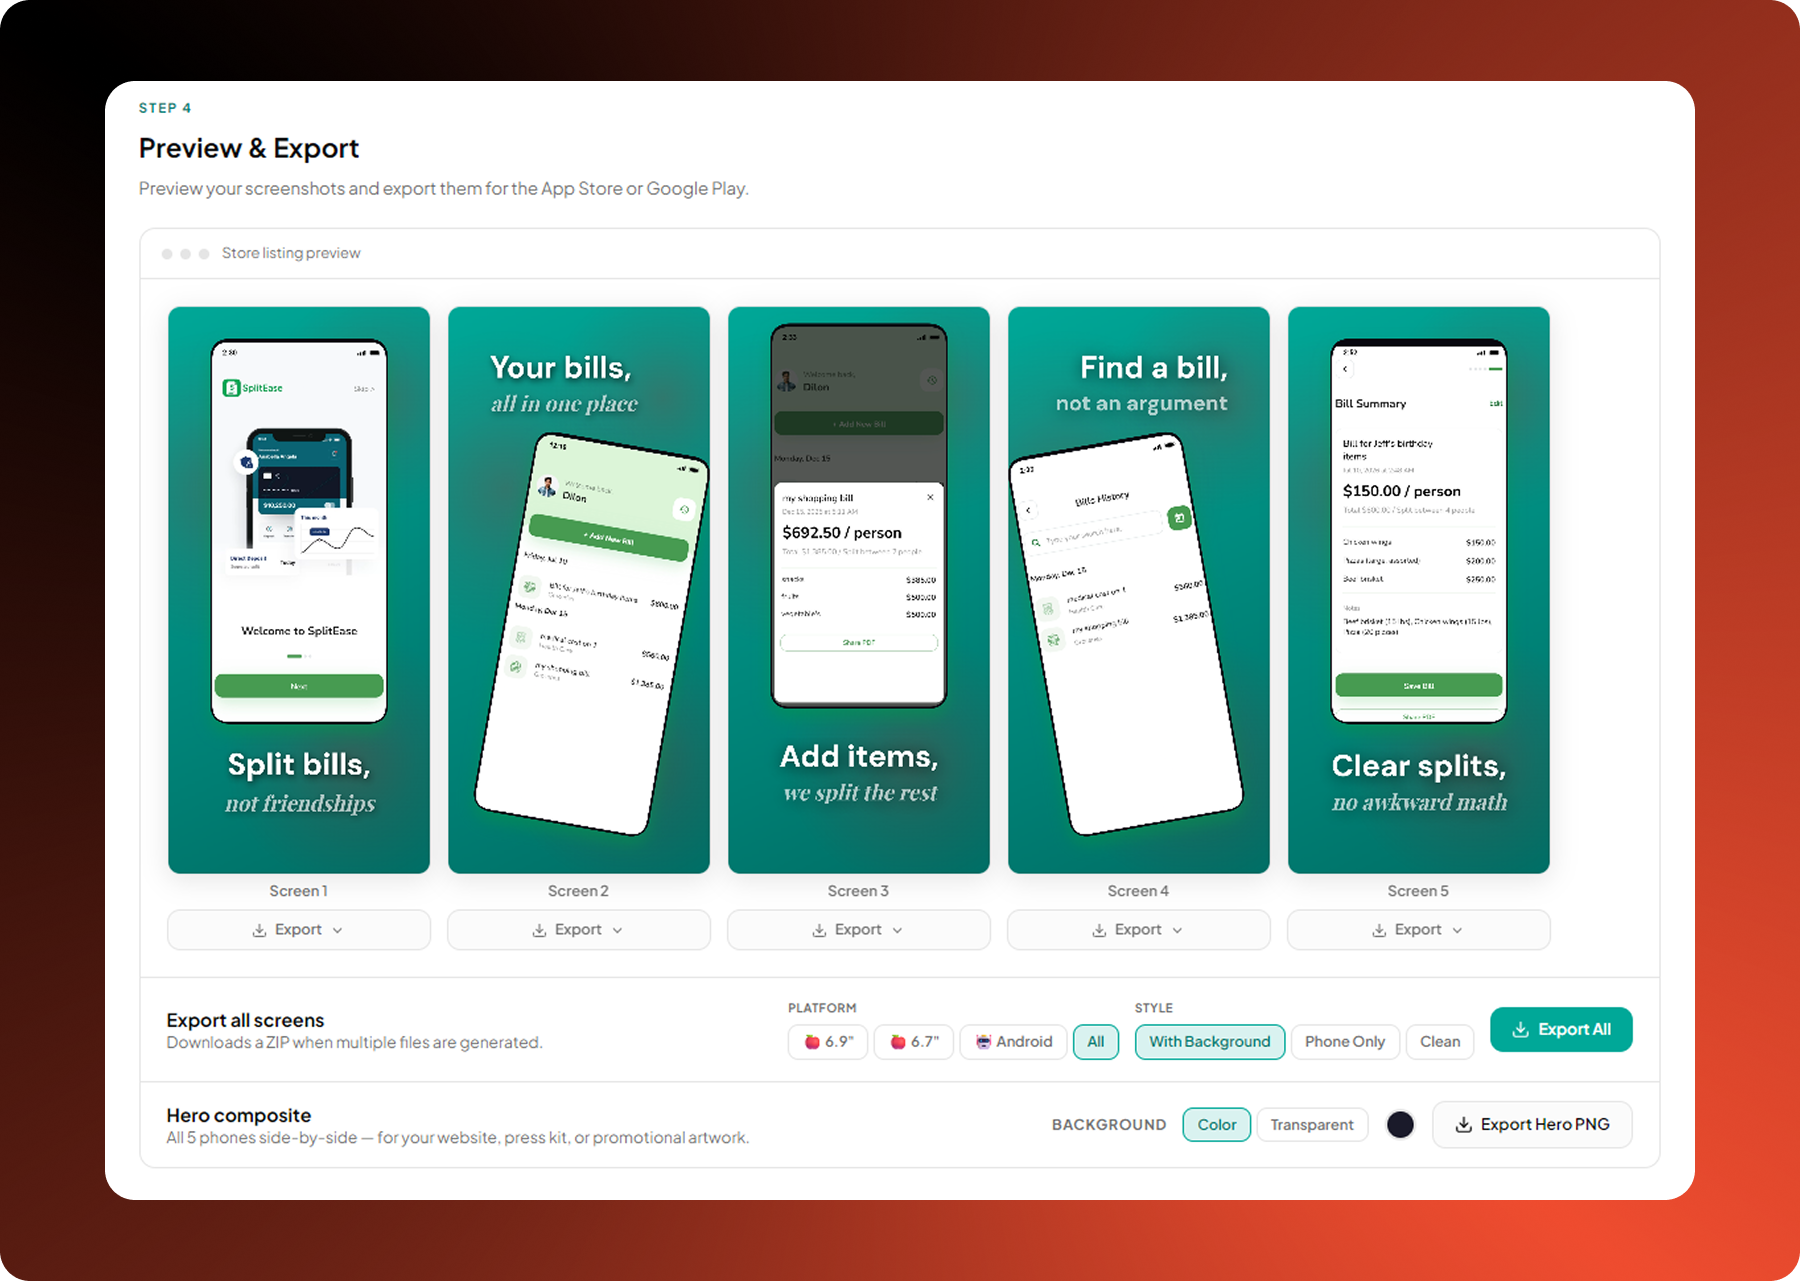
When you're happy, hit Export. Studio generates PNGs at the exact dimensions Apple and Google require: 1320×2868 for iPhone 6.9" (the primary iOS requirement), 1290×2796 for 6.7", and 1080×1920 for Google Play. You can download all five individually, as a zip, or as a single hero composite.
Step 5: Generate Your Store Documents
Answer a short set of questions about your app and the AI generates a Privacy Policy, Terms of Service, and pre-filled App Store Connect and Google Play listing fields — app name, subtitle, keywords, descriptions, age rating, data safety answers. Every field has a one-click Copy button. Everything Saves Automatically, Studio autosaves as you work. Screenshots, template choices, document answers — it's all there when you come back. Pick up exactly where you left off.
- From pasting your Adalo URL to having store-ready assets and documents: one sitting. -